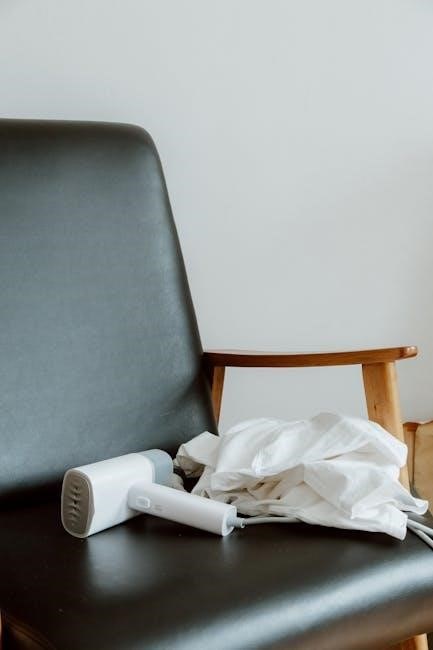
Swedish Death Cleaning‚ or döstädning‚ is a mindful approach to decluttering‚ focusing on reducing the burden on loved ones after one’s passing. It encourages organizing possessions thoughtfully‚ ensuring loved ones aren’t overwhelmed with decisions. This practice‚ popularized by Margareta Magnusson’s book‚ emphasizes simplicity‚ gratitude‚ and leaving a legacy of love rather than clutter. A workbook PDF is available to guide the process‚ offering practical steps and templates for a smoother transition;
What is Swedish Death Cleaning?

Swedish Death Cleaning‚ or döstädning‚ is a thoughtful decluttering process focused on organizing one’s belongings to ease the burden on loved ones after one’s passing. It combines practicality with emotional consideration‚ encouraging individuals to mindfully sort through possessions and decide what to keep‚ donate‚ or discard. This practice‚ popularized by Margareta Magnusson‚ emphasizes creating a legacy of love and simplicity rather than leaving behind clutter. It’s not just about cleaning but about fostering gratitude and mindfulness while ensuring a smoother transition for family and friends. The Swedish Death Cleaning workbook PDF provides a structured guide to navigate this process‚ offering templates and step-by-step advice to make it manageable and meaningful.
The Philosophy Behind Döstädning
The philosophy of Swedish Death Cleaning‚ or döstädning‚ revolves around mindfulness‚ gratitude‚ and the idea of leaving behind a legacy of love and simplicity. It encourages individuals to reflect on their possessions and decide what truly matters‚ fostering a sense of clarity and purpose. This practice is rooted in the belief that decluttering and organizing one’s life is an act of love and respect for loved ones‚ ensuring they aren’t burdened by unnecessary decisions after one’s passing. The workbook PDF aligns with this philosophy‚ offering practical tools and guidance to help individuals embrace this mindful approach to life and legacy‚ making the process both meaningful and empowering.
Why Swedish Death Cleaning is Gaining Popularity
Swedish Death Cleaning is gaining popularity globally as it offers a practical and emotional approach to decluttering. Unlike traditional organizing methods‚ it focuses on the legacy we leave behind‚ resonating with people of all ages. The idea of reducing the burden on loved ones while creating a meaningful transition appeals to many. Its rise is also fueled by the growing interest in minimalism and intentional living. The availability of resources‚ such as the Swedish Death Cleaning workbook PDF‚ provides a structured guide‚ making it accessible and easier to implement. This unique blend of mindfulness‚ simplicity‚ and love has made it a modern phenomenon‚ helping people reconnect with their belongings and their future.
The Benefits of Swedish Death Cleaning
Swedish Death Cleaning offers clarity‚ peace of mind‚ and a sense of control. It helps organize belongings‚ foster mindfulness‚ and create a meaningful legacy for loved ones.
Emotional Benefits: Reducing the Burden on Loved Ones
Swedish Death Cleaning provides profound emotional relief by minimizing the burden on loved ones. It ensures that family and friends aren’t left with the weight of sorting through a lifetime of possessions. By thoughtfully organizing and deciding what to keep‚ donate‚ or discard‚ individuals can create clarity and peace of mind for themselves and their heirs; The workbook PDF serves as a guide‚ helping users communicate their wishes clearly and sparing loved ones from difficult decisions. This process fosters gratitude and understanding‚ allowing relationships to remain focused on love rather than stress.

The organized approach of Swedish Death Cleaning also encourages users to handle sentimental items with care‚ ensuring meaningful memories are preserved without overwhelming others.
Practical Benefits: Decluttering and Organizing Your Life
Swedish Death Cleaning offers practical benefits by helping individuals declutter and organize their lives. The process encourages a systematic approach to managing possessions‚ ensuring every item has a purpose or brings joy. The workbook PDF provides templates and checklists to guide users through sorting‚ categorizing‚ and decision-making. By tackling clutter methodically‚ users can free up physical and mental space‚ creating a more organized living environment. This approach also simplifies future moves or downsizing‚ as belongings are already streamlined. The workbook’s structured format makes the process manageable‚ offering a clear roadmap to achieve a more organized and intentional lifestyle.
By addressing clutter now‚ individuals can enjoy a more efficient and stress-free daily life‚ knowing their space is optimized for comfort and functionality.
Psychological Benefits: Mindfulness and Minimalism
Swedish Death Cleaning fosters mindfulness by encouraging individuals to reflect on their possessions and values. The process promotes minimalism‚ helping people let go of unnecessary items and focus on what truly matters. The workbook PDF guides users in cultivating a mindful approach to decluttering‚ emphasizing the emotional relief that comes from organizing and simplifying. By engaging in this practice‚ individuals can experience a sense of clarity and peace‚ knowing they are creating a more intentional living space. The act of decluttering becomes a therapeutic exercise‚ allowing people to reconnect with their belongings and foster gratitude for what they have.

The Swedish Death Cleaning Workbook

The Swedish Death Cleaning Workbook is a practical guide designed to help individuals organize and declutter their belongings. It simplifies the process with templates and step-by-step instructions.
Overview of the Workbook
The Swedish Death Cleaning Workbook is a comprehensive guide designed to help individuals navigate the process of decluttering and organizing their belongings. It offers practical templates and step-by-step instructions to make the task manageable and stress-free. The workbook emphasizes mindfulness and intentionality‚ encouraging users to reflect on the value of each item. It also provides space for documenting decisions‚ making it easier to communicate wishes to loved ones. Available in PDF format‚ the workbook is accessible online‚ offering a flexible tool for anyone looking to embrace the principles of döstädning. Its clear structure and supportive approach make it an invaluable resource for those seeking to simplify their lives.
How to Use the Workbook Effectively
To use the Swedish Death Cleaning Workbook effectively‚ start by setting clear goals and dedicating time to work through its exercises. Begin with less emotionally charged items‚ gradually moving to more personal belongings. Use the provided templates to document decisions about each item‚ ensuring your wishes are clear to loved ones; Reflect on the stories behind possessions and consider gifting meaningful items to family or friends. Regularly review your progress and adjust your approach as needed. The workbook’s step-by-step guidance helps maintain focus‚ while its PDF format allows for easy access and portability. By following these steps‚ you can create a more organized‚ intentional space and reduce stress for yourself and others.
Key Features of the Workbook
The Swedish Death Cleaning Workbook offers practical tools and templates to guide users through the decluttering process. It includes checklists for categorizing items‚ reflection exercises for assigning sentimental value‚ and space for documenting decisions about possessions. The workbook emphasizes mindfulness and intentionality‚ helping users create a meaningful legacy. Additionally‚ it provides tips for gifting items and organizing memories‚ making it a comprehensive resource for those seeking to simplify their lives. Designed for accessibility‚ the workbook is available in PDF format‚ ensuring ease of use and portability. Its structured approach makes it an invaluable companion for anyone embracing the philosophy of döstädning.

Steps to Implement Swedish Death Cleaning
Begin by informing loved ones‚ then start with less personal items‚ and finally‚ gift meaningful possessions. The workbook provides structured guidance for each step‚ ensuring clarity and ease.
Step 1: Inform Your Loved Ones
Initiating Swedish Death Cleaning begins with open communication. Share your intentions with family and friends‚ explaining how this process will ease their future burden. The workbook offers templates to guide these discussions‚ ensuring clarity and understanding. It’s essential to involve loved ones early‚ allowing them to express their wishes and ask questions. This step fosters a collaborative environment‚ making the decluttering journey smoother and more meaningful for everyone involved. By starting with this foundational conversation‚ you set the stage for a thoughtful and organized approach to managing your belongings.
Step 2: Start with Less Personal Items
After informing your loved ones‚ the next step is to begin decluttering with items that hold less emotional value. This approach makes the process less overwhelming and helps build confidence. Start with areas like clothing‚ books‚ or kitchenware‚ where decisions are easier. The Swedish Death Cleaning workbook provides practical guidance‚ offering worksheets to categorize and evaluate belongings. By focusing on less personal items first‚ you create a sense of progress and establish a routine. This step also helps you develop a clearer mindset for tackling more sentimental objects later on. Remember‚ the goal is to simplify your space while preserving meaningful memories.
Step 3: Gift Possessions Away
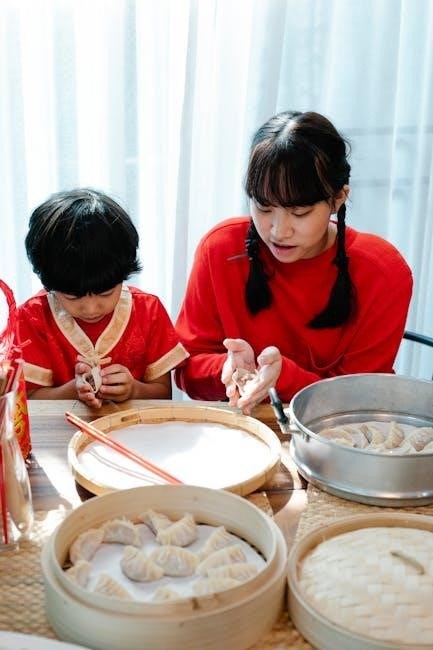
Gifting possessions to loved ones is a meaningful step in Swedish Death Cleaning. It allows you to see your belongings bring joy to others while you’re still alive. Start by identifying items that hold sentimental or practical value for family and friends. The workbook provides templates to track and organize gifts‚ ensuring clarity for both you and the recipients. This step fosters gratitude and connection‚ turning decluttering into an act of love. By gifting now‚ you reduce the emotional burden on others later. The process also helps recipients understand the stories behind the items‚ preserving memories. The workbook guides you in creating a thoughtful gifting plan‚ making this step both practical and heartfelt.
Additional Resources and Guides
The Swedish Death Cleaning Workbook PDF offers practical guides and templates. Additional resources include expert tips‚ success stories‚ and online testimonials to aid your journey.
PDF Worksheets and Guides Available Online
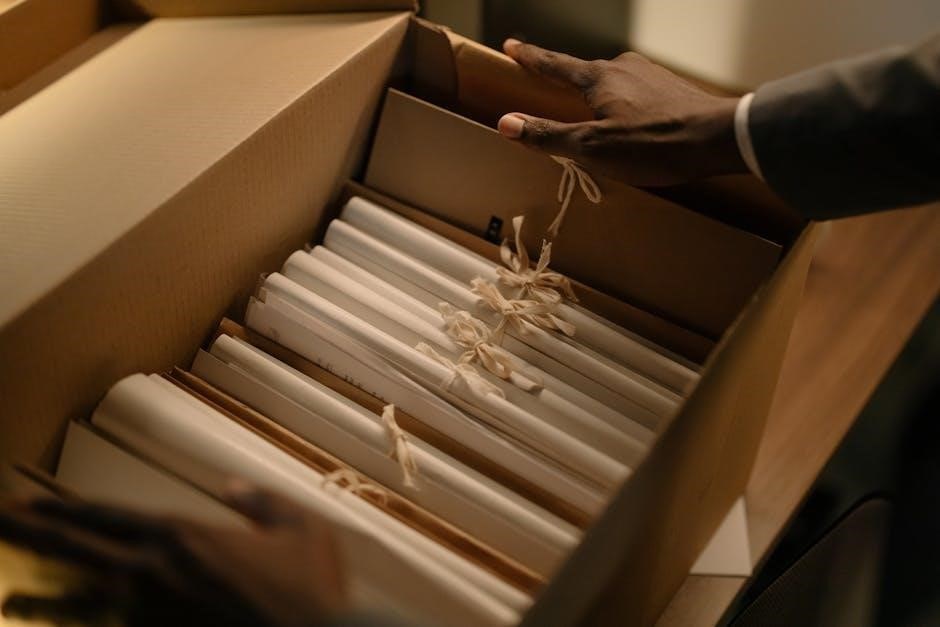
PDF worksheets and guides for Swedish Death Cleaning are readily available online‚ offering structured templates to help organize belongings and declutter effectively. These resources often include checklists‚ step-by-step instructions‚ and tips for tackling sentimental items. Many guides are designed to complement the Swedish Death Cleaning workbook‚ providing additional support for those navigating the process. They cover topics such as how to categorize possessions‚ create a legacy‚ and involve loved ones. Some PDFs also include spaces for noting wishes and memories‚ ensuring a meaningful approach to decluttering. These digital tools make it easier to apply the principles of Swedish Death Cleaning‚ whether you’re working alone or with family members.
Expert Insights and Tips
Experts like Margareta Magnusson‚ author of The Gentle Art of Swedish Death Cleaning‚ offer practical advice for implementing this practice. Start by informing loved ones about your intentions‚ ensuring they understand and support your goals. Begin with items that hold less emotional value‚ gradually working your way to more sentimental possessions. Magnusson suggests gifting items during your lifetime to see loved ones enjoy them. She also emphasizes the importance of storytelling‚ attaching memories to items to create meaningful legacies. The workbook provides templates for organizing and decision-making‚ helping users maintain focus and clarity. By following these expert tips‚ individuals can approach Swedish Death Cleaning with confidence‚ creating a more organized and thoughtful legacy.
Success Stories and Testimonials
Many individuals have shared inspiring experiences with Swedish Death Cleaning‚ highlighting its transformative impact. One user described how the workbook’s templates and guides helped them declutter decades of possessions‚ bringing peace of mind. Another testimonial revealed that the process strengthened family bonds‚ as loved ones collaboratively decided the fate of cherished items. The workbook’s step-by-step approach has been praised for making the task manageable and even therapeutic. Users often express relief at reducing the burden on their families‚ while also finding joy in sharing stories and gifting meaningful possessions. These success stories underscore the workbook’s effectiveness in blending practicality with emotional closure‚ making it a valuable resource for anyone embracing this mindful practice.