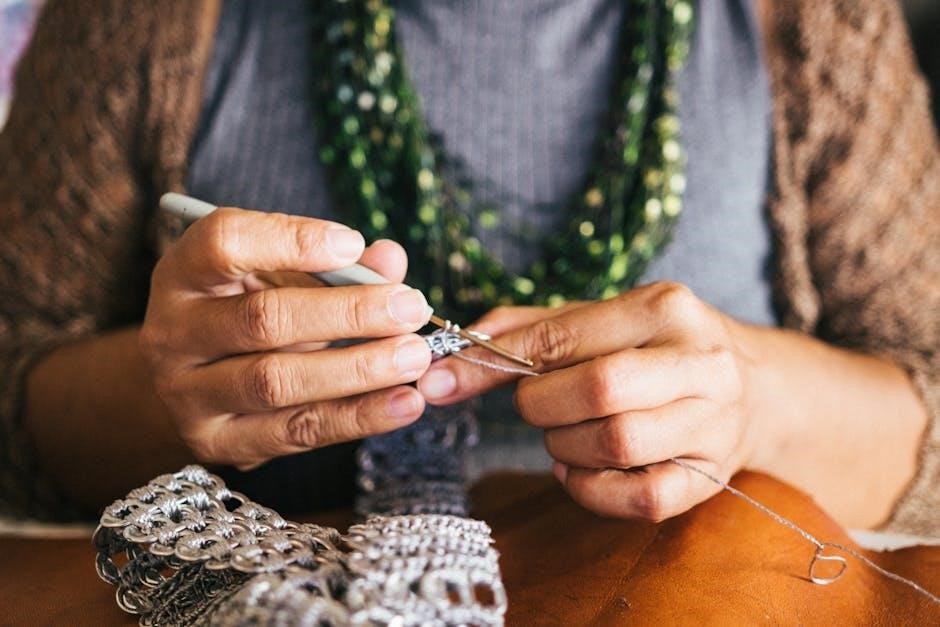
Crochet is a rewarding hobby, offering relaxation and creativity. Free PDF printable crochet patterns make it easy to start, with designs for all skill levels. These patterns are accessible online, allowing you to download, print, and begin your project instantly.

Benefits of Using Free Crochet Patterns
Using free crochet patterns offers numerous advantages for crafters of all levels. Cost-effectiveness is a primary benefit, as it allows beginners to experiment without financial commitment. These patterns are widely accessible online, often in PDF format, making it easy to download and print them instantly.
Free patterns cater to all skill levels, from simple projects like scarves and dishcloths to complex designs like blankets and amigurumi. This variety ensures that everyone can find something that matches their interests and abilities; Additionally, many free patterns are accompanied by video tutorials and step-by-step instructions, which are invaluable for understanding complex stitches or techniques.
Another benefit is the support from crochet communities. Websites and social media platforms often host forums where users can share tips, ask questions, and showcase their finished projects. This sense of connection can enhance the overall crocheting experience.
Lastly, free PDF patterns are environmentally friendly, as you can print only what you need, reducing paper waste. With so many resources available, free crochet patterns provide an excellent way to explore creativity while staying budget-friendly and supported.
Where to Find Free Crochet Patterns
Free crochet patterns are widely available online through popular websites, social media platforms, and crochet communities. Websites like Lion Brand, Moogly, and The Crochet Crowd offer extensive libraries of free, downloadable PDF patterns. Additionally, platforms like YouTube and Reddit host tutorials and shared patterns, making it easy to find inspiration and resources for your next project.
3.1. Popular Websites for Free Patterns
There are numerous websites that offer free crochet patterns in PDF format, making it easy to download and print. One of the most popular is Lion Brand Yarns, which provides a wide range of free patterns for beginners and experienced crocheters alike. Moogly is another well-known site, offering modern and trendy designs, from blankets to accessories. The Crochet Crowd is a great resource, featuring a vast library of patterns and tutorials.
Other notable websites include Ravelry, a community-driven platform with thousands of free patterns, and Pinterest, where users can discover and save patterns. Additionally, websites like Craftsy and AllFreeCrochet often feature free patterns, along with tips and guides. Many independent designers also share their patterns for free on their personal blogs or through platforms like Etsy.
These websites cater to all skill levels, ensuring that crocheters can find projects that suit their interests and abilities. Whether you’re looking for simple scarves or intricate blankets, there’s a wealth of free resources available online.
3.2. Social Media Platforms and Communities
Social media platforms and online communities have become invaluable resources for finding free crochet patterns. Platforms like Pinterest and Instagram are filled with crochet enthusiasts sharing their creations and linking to free PDF patterns. Facebook groups dedicated to crochet are also popular, offering a space to connect with fellow crafters, share ideas, and access free patterns.
Reddit’s r/crochet community is another great place to find free patterns, with members frequently posting links to their favorite designs. Many crocheters also share their patterns on YouTube, providing both written instructions and video tutorials. These communities often feature discussions about different patterns, tips for customization, and troubleshooting advice.
In addition to these platforms, websites like Ravelry host extensive libraries of free crochet patterns, many of which are shared by independent designers. These platforms not only provide access to patterns but also foster a sense of camaraderie among crocheters. Whether you’re a beginner or an experienced crafter, social media and online communities offer endless inspiration and resources to enhance your crochet journey.
3.3. YouTube Tutorials and Channels
YouTube has become a top destination for crocheters seeking free patterns and tutorials. Many creators offer free PDF patterns alongside their video guides, making it easy to follow along. Channels like Moogly, The Crochet Crowd, and Fiber Flux are popular for their detailed step-by-step tutorials.
These videos are especially helpful for visual learners, as they break down complex stitches and techniques into manageable parts. Some channels also provide links to free printable PDF patterns in their video descriptions, allowing viewers to download and print the instructions.
Additionally, YouTube communities often engage with viewers, answering questions and offering tips in the comments section. This interactive approach fosters a sense of connection among crocheters. Many creators also share tips for customizing patterns and troubleshooting common mistakes.
YouTube’s vast library of crochet content makes it an invaluable resource for finding free patterns and improving your skills. Whether you’re a beginner or an experienced crafter, these channels offer endless inspiration and guidance to help you complete your projects successfully.

How to Read and Understand Crochet Patterns
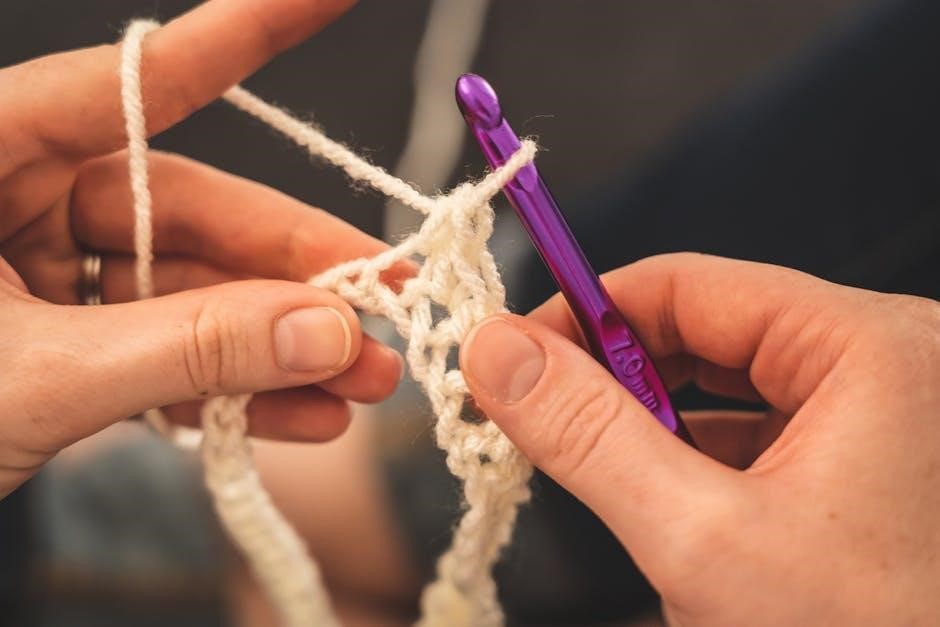
Learning to read crochet patterns is essential for success. Start by mastering basic stitches and abbreviations. Patterns typically include materials, gauge, and step-by-step instructions. Pay attention to symbols, notes, and any special techniques. Video tutorials can help clarify complex steps, ensuring your projects turn out as intended.
4.1. Understanding Crochet Abbreviations
Understanding crochet abbreviations is a cornerstone of mastering any pattern. These shorthand terms, like “ch” for chain stitch and “sc” for single crochet, are universally used to keep patterns concise. Beginners often find abbreviations confusing, but with practice, they become second nature.
Many free PDF printable crochet patterns include a glossary or key explaining the abbreviations used. For example, “st” stands for stitch, while “sl st” means slip stitch. Patterns may also specify whether U.S. or U.K; terminology is used, as some stitches have different names in each system.
Abbreviations help crocheters quickly identify stitches, repeats, and sequence of steps. They also make patterns easier to read and follow. If you’re unsure about a specific abbreviation, websites like Lion Brand Yarn or Moogly offer comprehensive guides.
To ensure success, always review the abbreviations before starting a project. This step is especially important for complex patterns or those with unique stitches. With time, you’ll become fluent in crochet shorthand, making your crafting experience smoother and more enjoyable.
4.2. The Importance of Video Tutorials
Video tutorials have become an indispensable resource for crocheters, especially when working with free PDF printable patterns. They provide visual step-by-step guidance, making it easier to understand complex stitches and techniques. Many crocheters find videos more helpful than written instructions alone, as they can pause, rewind, and watch demonstrations multiple times.
Platforms like YouTube are treasure troves of crochet tutorials, with creators offering detailed lessons for every skill level. These videos often complement free PDF patterns, allowing users to follow along in real time. For example, tutorials for stitches like the granny square or amigurumi projects are highly popular.
Video tutorials are particularly beneficial for beginners who may struggle with written abbreviations or diagrams. They also help clarify differences between U.S. and U;K; crochet terminology. Additionally, videos can address common mistakes and offer tips for customizing patterns.
Some designers include links to video tutorials within their free PDF patterns, ensuring users have all the resources they need. This combination of visual and written instruction creates a seamless learning experience. Over time, video tutorials have become a cornerstone of the crochet community, fostering creativity and confidence for crafters of all levels;
Popular Types of Crochet Projects
Crochet enthusiasts have a wide variety of projects to choose from, catering to different skill levels and preferences. One of the most popular types of crochet projects is blankets, with options ranging from baby blankets to intricate afghans. Scarves, hats, and gloves are also favorites, offering both practicality and style.
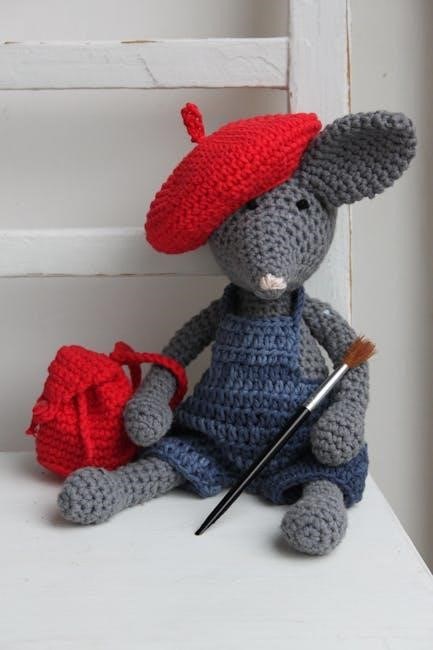
Amigurumi toys, such as cute animals or characters, have gained significant popularity, especially among crafters who enjoy creating gifts for children. Granny square patterns remain timeless, allowing for endless customization and creativity. Home decor items, like dishcloths, coasters, and pillow covers, are also in high demand for their utility and aesthetic appeal.
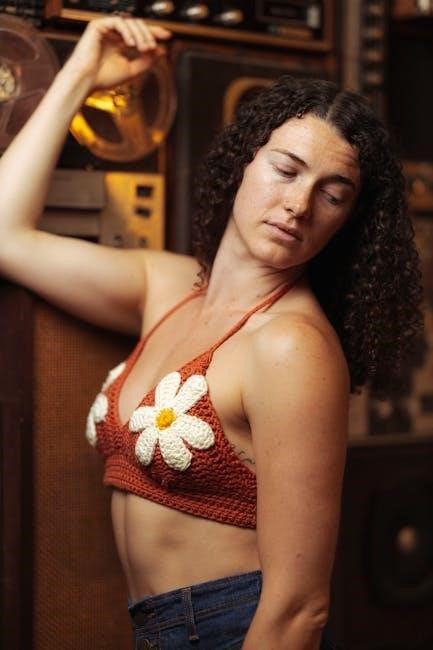
For those looking to create something unique, crochet flower patterns and lacework projects are ideal. Additionally, clothing items such as sweaters, cardigans, and shawls are popular among crocheters who enjoy making wearable art. With so many options available, there’s a crochet project to suit every interest and skill level, making the hobby endlessly versatile and engaging.
Customizing Your Crochet Patterns
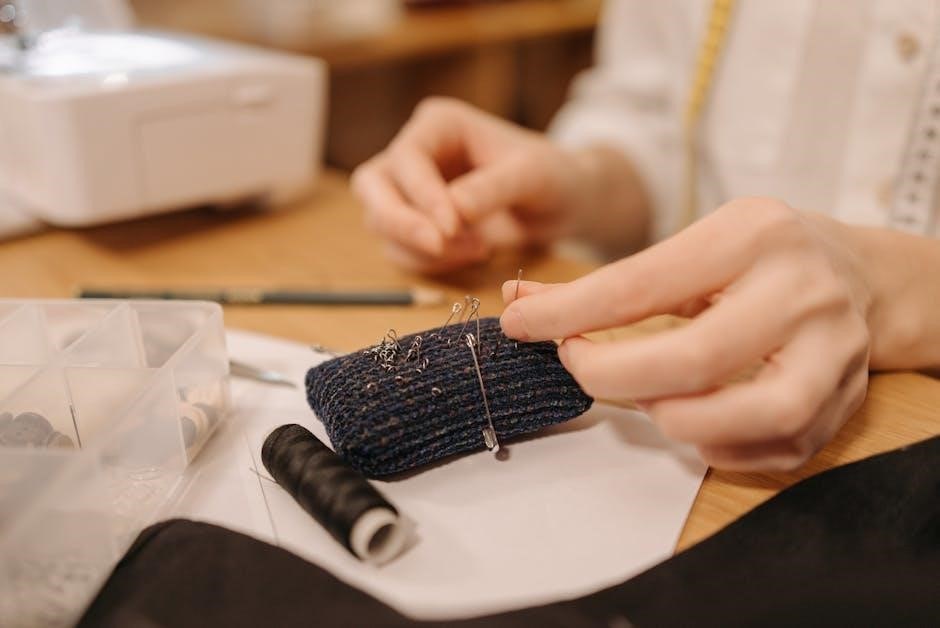
Customizing crochet patterns allows crafters to add a personal touch to their projects. Whether it’s altering colors, adjusting sizes, or incorporating unique embellishments, customization makes each piece truly one-of-a-kind. One popular method is experimenting with different yarn types and colors to match personal preferences or seasonal themes.
Another way to customize is by modifying the pattern’s stitch count or length, enabling the creation of varying sizes, such as adjusting a scarf’s length or a hat’s circumference. Adding embellishments like buttons, appliques, or embroidery can elevate a simple design into something extraordinary.
For those who enjoy creativity, altering the shape or structure of a pattern is also possible. For example, turning a rectangular blanket into a round one or adding pockets to a crochet bag. Customization not only enhances the final product but also makes it more meaningful, especially when creating gifts.
With free PDF printable crochet patterns, crafters can easily tweak designs to suit their style. Even small changes, like swapping out a border or adding texture, can make a big difference. This flexibility is one of the joys of crochet, allowing everyone to express their creativity and bring their vision to life.
Crochet Patterns for Different Skill Levels
Crochet patterns cater to all skill levels, ensuring that everyone, from beginners to advanced crafters, can find projects that suit their abilities. For those just starting out, simple patterns like scarves, dishcloths, and baby blankets are ideal. These projects typically use basic stitches, such as single crochet or half-double crochet, and require minimal shaping or seaming.
Intermediate crocheters can explore more complex designs, such as sweaters, hats, and granny square blankets. These patterns introduce techniques like increasing, decreasing, and working in the round. They also often incorporate multiple stitches or color changes, helping to build confidence and skill.
Advanced crocheters can tackle intricate patterns, such as lace shawls, cables, or amigurumi toys. These projects demand precision, patience, and a strong understanding of crochet terminology. Many free PDF printable patterns are designed with skill progression in mind, offering step-by-step instructions and tips to help crafters improve their skills.
Whether you’re a novice or an experienced crocheter, there’s a wide range of free patterns available to match your skill level. This accessibility makes crochet a hobby that’s both enjoyable and rewarding for everyone.
The Role of Community and Resources
The crochet community plays a vital role in supporting crafters, offering invaluable resources and encouragement. Online forums, social media groups, and dedicated websites provide platforms for sharing ideas, asking questions, and showcasing projects. Communities like Reddit’s r/crochetpatterns and Facebook groups connect crocheters worldwide, fostering collaboration and inspiration.
Websites such as Lion Brand and Moogly offer extensive libraries of free patterns, tutorials, and tips, making them essential resources for learners. YouTube channels like The Crochet Crowd provide video tutorials, helping visual learners master complex stitches and techniques. These resources not only help crafters improve their skills but also build confidence and creativity.
The crochet community’s support extends beyond practical advice. Many crafters find emotional encouragement through shared projects and feedback. This sense of belonging motivates crafters to keep creating, knowing they’re part of a larger, supportive network.
Selling Your Own Crochet Patterns
Turning your crochet passion into profit is an exciting venture, and selling your own patterns can be a rewarding way to share your creativity. Many crafters monetize their designs by offering them as downloadable PDFs on platforms like Etsy, Ravelry, or personal websites. Creating high-quality, detailed patterns with clear instructions and visuals is key to attracting buyers.
To succeed, consider the demand for specific types of patterns, such as seasonal items or trending designs. Pricing your patterns competitively while ensuring they reflect the time and effort invested is important. Platforms like Etsy allow you to reach a global audience, while Ravelry caters specifically to fiber craft enthusiasts.
Additionally, offering step-by-step tutorials or video guides alongside your patterns can justify a higher price point and set your work apart. Many crafters also build a following by sharing free patterns initially, then offering premium content to loyal supporters.
Ultimately, selling crochet patterns requires a balance of creativity, marketing, and understanding your audience. With the right approach, it can be a fulfilling way to share your passion and earn income.

The Future of Crochet Patterns
The future of crochet patterns is poised for exciting growth and innovation. As technology advances, patterns are becoming more accessible and interactive. Video tutorials and virtual classes are gaining popularity, allowing crafters to learn complex stitches and techniques in real-time. Additionally, augmented reality (AR) tools are emerging, enabling crafters to visualize patterns before starting a project.
Sustainability is also shaping the future of crochet. Many designers are focusing on eco-friendly yarns and patterns that promote zero-waste crafting. This shift aligns with the growing demand for environmentally conscious products.
Moreover, digital platforms are revolutionizing how patterns are shared and accessed. Apps and websites now offer customizable patterns, allowing users to adjust sizes, colors, and stitches to suit their preferences. AI-generated patterns are also becoming a reality, enabling crafters to create unique designs tailored to their skills and interests.
As crochet continues to evolve, the community-driven aspect of the craft will remain central. Online forums, social media groups, and virtual events will foster collaboration and innovation, ensuring that crochet patterns remain a vibrant and dynamic part of the crafting world. The future of crochet is undoubtedly bright, with endless possibilities for creativity and connection.