The Aprilaire 600 humidifier is a popular whole-house humidification solution designed for forced air heating systems. It offers energy-efficient and reliable performance to maintain optimal indoor air quality and comfort year-round.
Overview of the Aprilaire 600 Humidifier
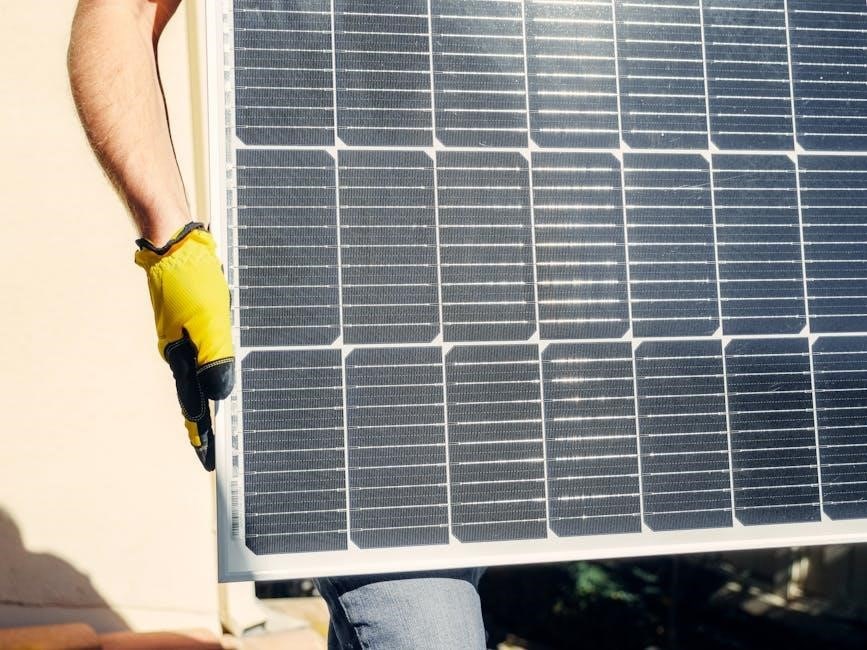
The Aprilaire 600 is a high-capacity, whole-house humidifier designed for forced air heating systems. It offers flexible installation options, including supply or return plenum mounting, and is reversible for right- or left-hand installation. This evaporative humidifier works in conjunction with the furnace blower to deliver consistent humidity levels. Its durable design ensures long-lasting performance, while its energy-efficient operation helps maintain optimal indoor air quality. The unit requires a qualified installer for proper setup and integration with existing HVAC systems, ensuring reliable and safe operation.
Choosing the Installation Location
Select a location for the Aprilaire 600 that allows easy access and proper airflow. Ensure the area is level, secure, and compatible with your HVAC system’s configuration to optimize performance and safety.
Installation Location Requirements
The Aprilaire 600 must be installed on either the supply or return plenum of a forced air handling system. Ensure the location is level, secure, and allows proper airflow. The humidifier should be installed in conjunction with the furnace blower for optimal performance. Choose a spot with easy access for maintenance and ensure it is near a water supply line. Proper drainage is essential to prevent water damage. Refer to the manual for specific templates and leveling guidelines to ensure a safe and efficient installation.
Wiring Instructions
Refer to the wiring diagram in the manual for precise connections. Ensure all wires are securely connected and follow the manufacturer’s guidelines for proper installation and safety.
Understanding the Wiring Diagram
The wiring diagram provided in the Aprilaire 600 installation manual is essential for proper setup. It illustrates connections for the humidistat, humidifier, and furnace. The diagram shows 24V wiring, with color-coded wires for power, common, and signal lines. Terminals are labeled for easy identification. Ensure connections are secure and match the diagram to avoid malfunctions. Refer to the manual for specific wiring options and configurations. Always turn off power before starting work and consult a professional if unsure.
Connecting the Humidistat
Connecting the humidistat to the Aprilaire 600 involves wiring it to control humidity levels. Mount the humidistat in the cold air return duct or on an interior wall. Use 24V wiring to connect the humidistat to the humidifier and furnace. Ensure the wires are securely connected to the correct terminals on both the humidistat and humidifier. Refer to the wiring diagram for precise connections. After wiring, test the system to ensure it responds to humidity changes. Always consult the manual for specific instructions and safety precautions.
Control Installation
The Manual Humidifier Control can be installed in the cold air return duct or on an interior wall, requiring 24V wiring to connect to the humidifier and furnace system.
Manual Control Installation
The Manual Humidifier Control is installed in the cold air return duct or on an interior wall. It requires removing the knob and cover for mounting. Follow the wiring diagram for secure 24V connections to the humidifier and furnace system. Ensure all wires are accurately connected to avoid electrical issues. This control allows manual adjustment of humidity levels, providing a simple yet effective way to manage indoor air quality. Proper installation ensures safe and efficient operation of the Aprilaire 600 humidifier.
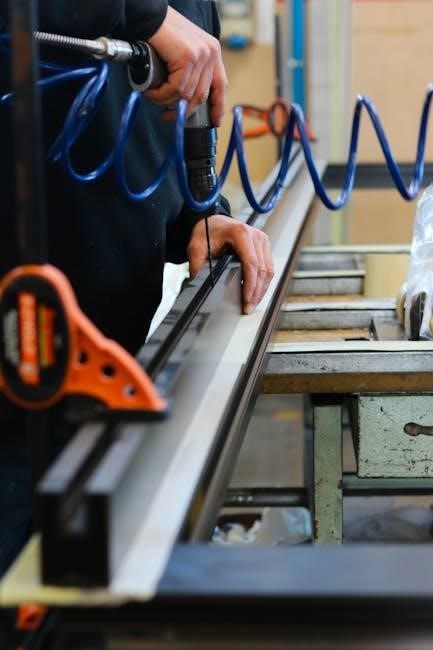
Mounting and Leveling the Humidifier
The Aprilaire 600 can be mounted on either the supply or return plenum, is reversible for easy installation, and must be level to ensure proper operation and prevent issues.
Mounting the Aprilaire 600
The Aprilaire 600 is designed for mounting on either the supply or return plenum of a forced air heating system. It can be installed in both right-hand and left-hand configurations, offering flexibility for different duct layouts. Ensure the unit is securely fastened to the plenum using the provided hardware to maintain stability and prevent vibration. Proper mounting ensures efficient operation and helps maintain the integrity of the duct system. Follow the installation template for accurate placement and alignment.
Leveling the Humidifier
Proper leveling of the Aprilaire 600 is essential for optimal performance and water distribution. Place the humidifier on a stable surface and use a carpenter’s level to ensure it is perfectly horizontal. Adjust the mounting bracket or use shims if necessary to achieve proper alignment. Verify the level again after installation to ensure accuracy. Correct leveling prevents water from pooling and ensures even distribution across the evaporative pad, maintaining efficiency and longevity of the unit.
Maintenance and Upkeep
Regular cleaning and replacing the water panel annually ensures optimal performance. Check for mineral buildup and ensure proper drainage to maintain efficiency and prevent damage.
Regular Maintenance Tasks
Regular maintenance is crucial for optimal performance of the Aprilaire 600 humidifier. Replace the water panel annually to ensure proper humidity control and prevent mineral buildup. Check for mineral deposits and clean the unit as needed. Ensure proper drainage to avoid water damage. Inspect and clean the humidistat and electrical connections to maintain accurate humidity levels and safe operation. Regularly check the bypass damper to ensure it is functioning correctly. Refer to the manual for detailed instructions on these tasks to keep the system running efficiently and effectively.
Safety Precautions
Always follow safety precautions to avoid electrical hazards. Turn off power before maintenance or repairs. Ensure proper grounding to prevent shocks. Do not attempt adjustments without technical expertise. Adhere to local electrical codes and regulations. Consult a qualified HVAC technician if uncertain.
Important Safety Considerations
Always follow safety precautions to ensure safe installation and operation of the Aprilaire 600 humidifier. Risk of electrical shock exists if not installed correctly. Installation must be performed by a qualified HVAC technician to avoid hazards. Ensure proper grounding of the unit to prevent electrical issues. Never attempt to modify or repair the humidifier without disconnecting the power supply. Failure to follow safety guidelines may result in injury or damage. Adhere to all local electrical codes and manufacturer instructions to maintain warranty validity and ensure safe operation.
Troubleshooting Common Issues
Identify and address common issues like improper installation, wiring errors, or faulty humidistat connections. Ensure correct water flow and drainage. Consult the manual or a professional if problems persist.
Diagnosing and Resolving Common Problems
Common issues with the Aprilaire 600 include improper water flow or drainage. Check for clogs in the drain line or water panel. Ensure the humidistat is correctly set to avoid over-humidification. Verify that the bypass damper is properly installed to allow airflow. If the humidifier fails to turn on, inspect the wiring connections to ensure they match the wiring diagram. Contact a qualified technician if problems persist after basic troubleshooting steps.
Final Thoughts and Next Steps
Proper installation of the Aprilaire 600 humidifier ensures efficient and reliable performance. Always follow the manual for precise steps and consider professional help if unsure. Regular maintenance, such as cleaning and replacing parts, is essential for longevity. Once installed, monitor humidity levels and adjust settings as needed for optimal comfort. Schedule annual inspections to ensure the system runs smoothly. By adhering to these guidelines, you’ll enjoy improved indoor air quality and energy savings for years to come.